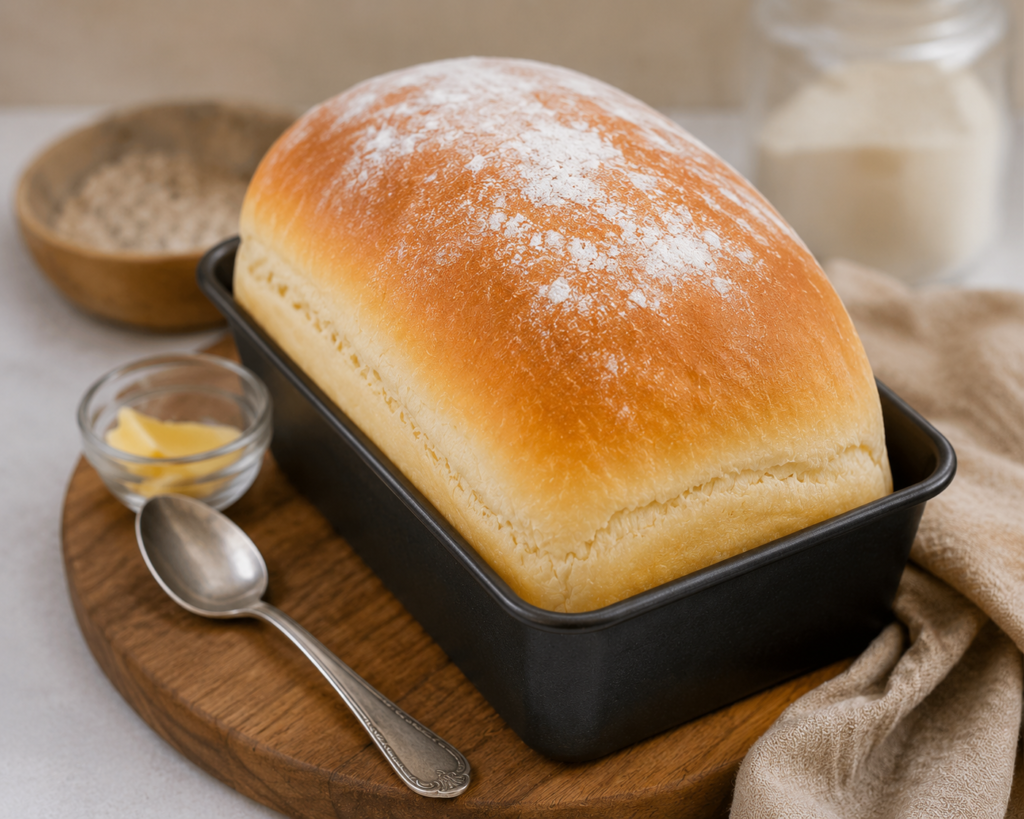
Few things are as comforting as the smell of freshly baked bread filling your kitchen. This beautiful golden loaf is soft on the inside, lightly crisp on the outside, and made with simple pantry ingredients that almost everyone already has at home. The best part? This recipe requires no eggs, no butter, and absolutely no complicated kneading techniques. It is one of the easiest homemade bread recipes you can make, even if you have never baked bread before.
Store-bought bread can be expensive, filled with preservatives, and often lacks the fresh taste that homemade bread offers. With this recipe, you can create a bakery-style loaf using basic ingredients while saving money and enjoying the satisfaction of baking your own bread from scratch.
Whether you want fresh toast for breakfast, sandwiches for lunch, or warm bread to serve with dinner, this recipe is guaranteed to become a household favorite.
Why You’ll Love This Recipe
This bread recipe is perfect for beginners because it is simple, forgiving, and delivers excellent results every time.
Benefits of This Bread Recipe
- No kneading required
- No eggs needed
- No butter required
- Budget-friendly ingredients
- Soft and fluffy texture
- Perfect for sandwiches and toast
- Easy enough for beginners
- Better than store-bought bread
The finished loaf has a beautiful golden crust and a light, airy crumb that stays soft for days.
Ingredients
To make one large loaf, you will need:
- 3½ cups all-purpose flour
- 1½ teaspoons salt
- 1 tablespoon sugar
- 2 teaspoons instant yeast
- 1¼ cups warm water
- 2 tablespoons vegetable oil
Optional for topping:
- Light dusting of flour
- Olive oil for brushing
Equipment Needed
- Large mixing bowl
- Wooden spoon
- Loaf pan
- Kitchen towel
- Cooling rack
Step 1: Prepare the Dough
In a large mixing bowl, combine the flour, salt, sugar, and instant yeast.
Mix everything together until evenly distributed.
Pour in the warm water and vegetable oil.
Using a wooden spoon, stir until a rough dough forms. Continue mixing until no dry flour remains.
The dough will look slightly sticky, which is completely normal. Since this is a no-knead bread recipe, there is no need to work the dough with your hands.
Cover the bowl with plastic wrap or a clean kitchen towel.
Step 2: First Rise
Place the covered bowl in a warm location.
Allow the dough to rise for approximately 1 to 1½ hours, or until doubled in size.
During this time, the yeast creates air bubbles that give the bread its soft texture and delicious flavor.
Once fully risen, the dough should appear puffy and airy.
Step 3: Shape the Loaf
Lightly grease a loaf pan.
Using a spatula or lightly floured hands, transfer the dough onto a lightly floured surface.
Gently shape it into a loaf.
There is no need to knead aggressively. Simply fold the dough a few times and shape it into a smooth loaf.
Place the dough into the prepared loaf pan.
If desired, lightly dust the top with flour for a rustic bakery-style appearance.
Step 4: Second Rise
Cover the loaf pan with a towel.
Allow the dough to rise again for 30 to 45 minutes.
The dough should rise above the rim of the pan and look noticeably larger.
This second rise helps create a soft and fluffy interior.
Step 5: Bake the Bread
Preheat your oven to 375°F (190°C).
Place the loaf in the center rack of the oven.
Bake for 30 to 35 minutes.
As the bread bakes, the crust develops a beautiful golden-brown color while the inside remains soft and tender.
You will know the bread is done when:
- The top is golden brown
- The loaf sounds hollow when tapped
- The internal temperature reaches about 190°F (88°C)
Step 6: Cool Before Slicing
Remove the bread from the oven.
Carefully take it out of the loaf pan and place it on a cooling rack.
Allow the bread to cool for at least 30 minutes before slicing.
Although it may be tempting to cut into it immediately, cooling helps the bread finish setting and improves the texture.
Serving Ideas
This homemade bread is incredibly versatile.
Serve it with:
- Butter and jam
- Honey
- Peanut butter
- Soup
- Pasta dishes
- Sandwich fillings
- Avocado toast
- French toast
The soft crumb and mild flavor make it suitable for both sweet and savory meals.
Storage Instructions
Store the bread in an airtight container or bread bag at room temperature.
It will remain fresh for up to 3 days.
For longer storage:
- Slice the loaf completely
- Place slices in a freezer-safe bag
- Freeze for up to 3 months
Simply toast frozen slices whenever needed.
Helpful Tips for Success
Use Warm Water
Water should feel warm but not hot.
Hot water can kill the yeast and prevent the dough from rising properly.
Don’t Add Too Much Flour
The dough should remain slightly sticky.
Adding too much flour can result in a dense loaf.
Allow Enough Rising Time
Good bread requires patience.
Proper rising creates the soft, airy texture that makes homemade bread so delicious.
Cool Completely
Letting the loaf cool before slicing prevents a gummy texture and improves overall flavor.
Frequently Asked Questions
Can I Use Whole Wheat Flour?
Yes. Replace up to half of the all-purpose flour with whole wheat flour for a heartier loaf.
Can I Add Seeds?
Absolutely. Sesame seeds, sunflower seeds, and flaxseeds work wonderfully in this recipe.
Why Is My Bread Dense?
Common reasons include old yeast, insufficient rising time, or adding too much flour.
Can I Make Rolls Instead?
Yes. Shape the dough into individual rolls and reduce the baking time to about 18–22 minutes.
Final Thoughts
This easy homemade bread recipe proves that you do not need eggs, butter, or complicated kneading techniques to create an amazing loaf. With a golden crust, soft fluffy interior, and simple ingredients, this bread is perfect for everyday baking.
Once you experience the aroma of freshly baked bread filling your kitchen and taste a warm slice straight from the loaf, you’ll understand why so many home bakers stop buying bread altogether. Simple, affordable, and incredibly delicious, this recipe is one you’ll make again and again.